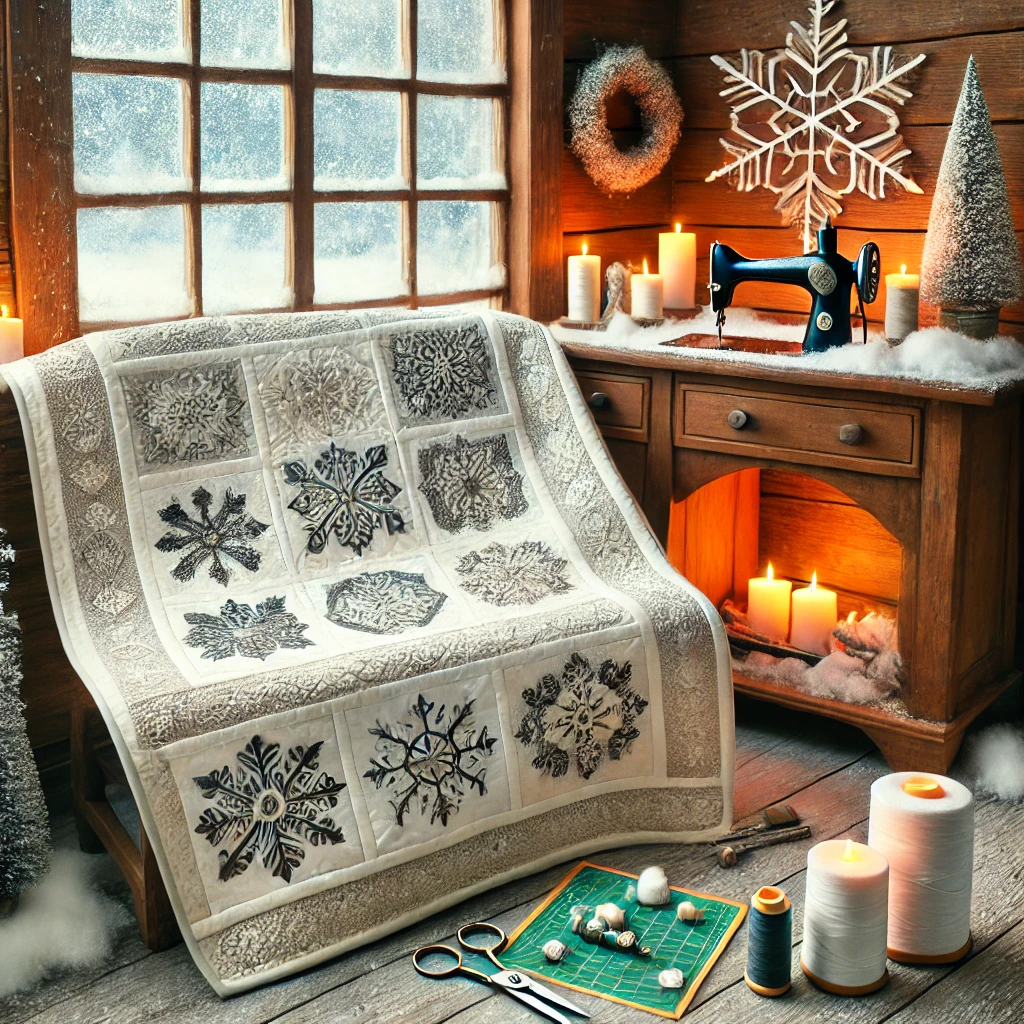
As snow blankets the world outside, why not bring some of that frosty magic into your quilting projects? A snowflake quilt adds a cozy and festive touch to your home and is perfect for the winter season. Whether it’s a throw, wall hanging, or table runner, this design is sure to impress.
Materials You’ll Need:
- Fabric: Shades of white, silver, and blue for a frosty palette.
- Batting: Lightweight batting for a soft, cozy finish.
- Thread: White or metallic for quilting the snowflake details.
- Tools: Rotary cutter, ruler, scissors, and a sewing machine.
Step-by-Step Guide:
- Choose Your Snowflake Design:
- Select a pattern featuring snowflake shapes. You can find templates online or create your own using freezer paper or stencils.
- Prepare Your Fabric:
- Cut fabric into squares, ensuring consistency in size for a uniform quilt layout.
- Appliqué the Snowflakes:
- Use the snowflake template to cut shapes from your chosen fabric.
- Attach the snowflakes to your quilt squares using a fusible web or needle-turn appliqué technique.
- Piece Your Quilt Top:
- Arrange the quilt squares in a pleasing pattern, mixing snowflake blocks with solid or patterned fabric.
- Quilt the Design:
- Layer the quilt top with batting and backing fabric. Secure with pins or basting spray.
- Quilt around the snowflakes using a free-motion technique or straight stitching for a clean, modern look.
- Add a Wintery Binding:
- Finish the edges with a binding that complements the snowy color palette, such as a shimmering silver or icy blue fabric.
Tips for Success:
- Play with Contrast: Use light and dark fabrics to make the snowflake designs pop.
- Experiment with Metallics: Silver or gold thread adds an extra touch of holiday sparkle.
- Make it Unique: Incorporate embroidery, beads, or sequins for a truly personalized design.
Why It’s Perfect for Winter:
A snowflake quilt is not only a practical project but also a beautiful piece of seasonal décor. Drape it over your favorite chair or use it as a festive table topper for holiday gatherings.
