Beginner’s Guide to Making a Memory Quilt
A memory quilt is a beautiful way to preserve treasured moments and turn them into something practical and meaningful. Whether it’s using baby clothes, old T-shirts, or fabric from loved ones, a memory quilt is a heartfelt keepsake that tells a story with every stitch. Here’s a step-by-step guide to help you create your first memory quilt.
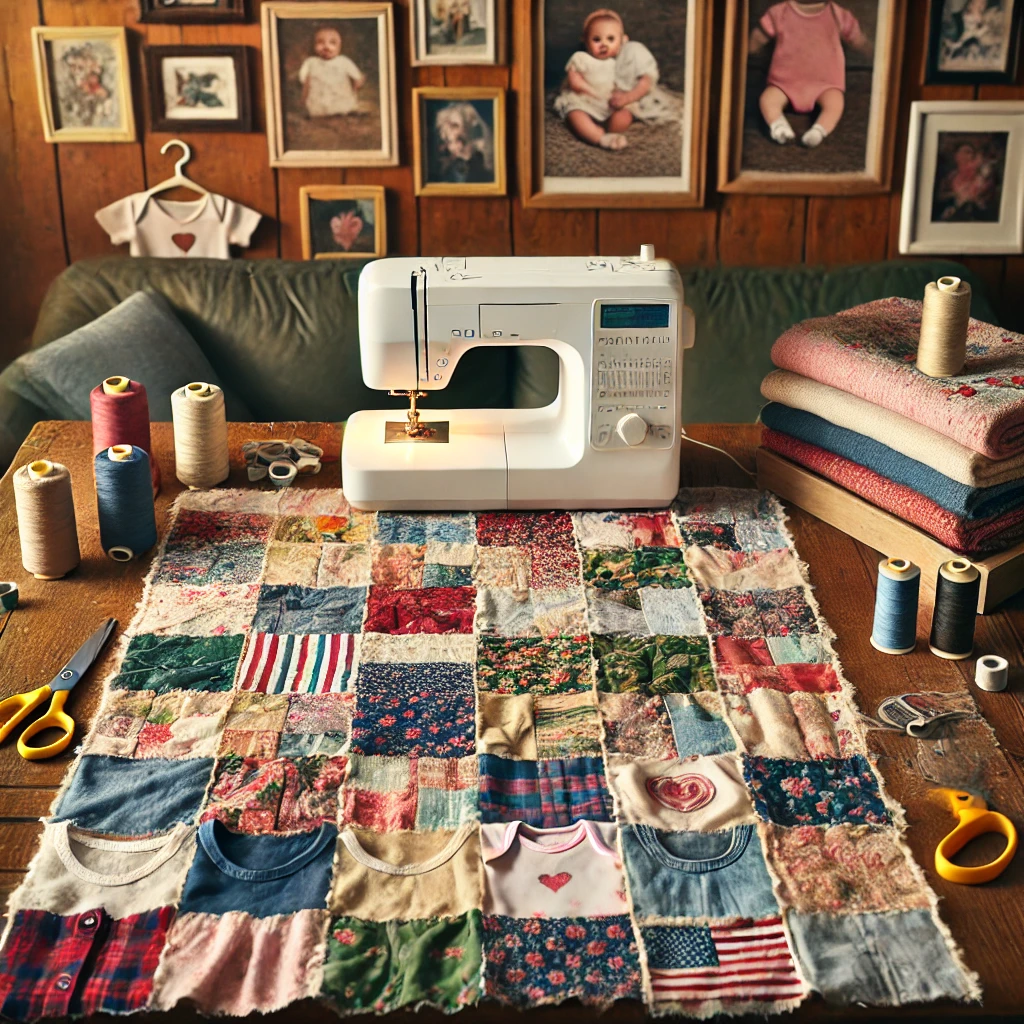
What You’ll Need
- Fabric: Clothes or fabrics with sentimental value.
- Stabilizer: Lightweight interfacing for delicate or stretchy fabrics.
- Batting: Choose a weight that complements your quilt’s purpose.
- Thread: Neutral or matching colors for a clean look.
- Tools: Sewing machine, rotary cutter, ruler, scissors, and pins.
Step-by-Step Guide
1. Gather Your Materials
Sort through your clothes or fabrics and select pieces that hold the most meaning. Ensure the fabrics are clean and pressed before cutting.
2. Plan Your Design
Decide on the quilt’s layout and size. Sketch a rough pattern to visualize where each fabric will go. Simple patchwork designs work well for beginners.
3. Prepare the Fabric
Cut your chosen clothes into squares or rectangles. Use a rotary cutter and ruler for accuracy. For stretchy materials like T-shirts, iron a stabilizer to the back before cutting to prevent warping.
4. Arrange Your Blocks
Lay out your fabric pieces on a flat surface. Play around with the arrangement until you’re happy with the balance of colors and patterns.
5. Sew the Quilt Top
Sew the pieces together row by row, using a consistent ¼-inch seam allowance. Press the seams as you go to keep the quilt top flat.
6. Layer and Quilt
Create a quilt sandwich by layering the backing fabric, batting, and quilt top. Pin or baste the layers together. Quilt through all the layers using straight lines, free-motion quilting, or hand quilting.
7. Add Binding
Finish the edges with binding to give your quilt a polished look. Use coordinating fabric for a harmonious finish or contrasting fabric for a bold effect.
Tips for Success
- Choose Durable Fabrics: Avoid fabrics that are too thin or prone to fraying.
- Keep It Simple: Focus on the sentimental value rather than intricate patterns.
- Add Personal Touches: Incorporate labels or embroidery with dates, names, or special messages.
Why It’s Worth It
A memory quilt is more than just a project—it’s a way to honor moments and people in your life. Every time you see or use the quilt, it’ll bring a wave of nostalgia and joy.